Creating Reusable Assets from EPS Files in Affinity Designer 2
Take Advantage of a Feature not in Pixelmator Pro
If you're an Affinity Designer 2 user, you know the software's versatility in handling various graphic formats, especially EPS files. EPS files often contain individual objects and designs that can be reused across multiple projects. However, navigating through countless EPS files to find the exact asset you want can be time-consuming. Here's a simple, effective method to convert those objects into reusable assets directly within Affinity Designer 2.

Step 1: Accessing the Object in Your EPS File
To start, open the EPS file containing the object you want to save as an asset. By holding down the Option key (or Alt key on Windows), select the specific object within the EPS file. This key combination makes it easy to isolate the item you need without selecting unwanted elements.
Step 2: Creating a New Design File
Once you have your object selected, create a new design file by pressing Command + Option + Shift + N (or Ctrl + Alt + Shift + N on Windows). This step will bring up a fresh canvas, ready for you to work with your newly isolated object.
Step 3: Grouping Objects for Easy Asset Management
In your new design file, select all the elements of the object and group them. Grouping simplifies the asset creation process and keeps everything organized, especially if you're working with complex graphics or multiple layers.
Step 4: Dragging and Dropping into the Asset Panel
With your object grouped, it's time to convert it into a reusable asset. Simply drag and drop the grouped layer into the desired Asset group within Affinity Designer's Asset panel. This quick action stores your object as an asset, so you won't need to search through EPS files repeatedly.
Why This Method Works
This approach saves you time and improves your design workflow. By converting EPS objects to assets, you can easily reuse them across different projects without hunting down the original EPS files. The drag-and-drop functionality within Affinity Designer 2 makes creating assets straightforward, allowing you to build a personal library of graphics that's always on hand.
Conclusion
Affinity Designer 2's asset creation feature is a powerful way to repurpose EPS graphics. By following these steps, you'll have an organized, efficient system to keep your best objects at your fingertips. With just a few clicks, you can streamline your design process and make your workflow smoother and more enjoyable.
Try this out, and let Affinity Designer 2 help you create a well-organized asset library that enhances your creative productivity!
PermalinkCreate a Custom Desktop Note Sheet with Affinity Designer 2 for Daily Productivity
Design a personalized note sheet that works best for you!
If you've ever wanted a personalized desktop note sheet for jotting down quick ideas, tasks, or daily thoughts without the hassle of opening a journal or app, why not make your own? That's exactly what I did using Affinity Designer 2, and I'm excited to share how simple and effective this approach can be. With a custom-designed sheet, I now have a daily planner that's tailored to my needs, which I print out and keep on my desk for easy access. Here's how you can create one too!
Why Create a Desktop Note Sheet?
For me, digital notes just don't quite capture that feeling of immediacy that comes from scribbling something down by hand. I wanted something physical?a sheet I could glance at throughout the day, make notes on, and then file away or reference easily without needing to scroll or search.

This is a sample daily sheet that I created.
Here's how this sheet has become a daily essential:
- Quick Access: I can jot down any tasks, ideas, or reminders without opening a notebook.
- Custom Layout: No flipping pages or cluttered books?just a flat sheet that stays where I want it.
- Daily Routine: Each morning, I print out a fresh sheet, fill in essential details, and use it as my go-to space for the day.
- Useful Information On Top: I've included the current release branch and sprint number at the top of the page to keep track of my testing priorities.
Getting Started with Affinity Designer 2
To create your own sheet, all you need is Affinity Designer 2 and a few ideas for your ideal layout. I started by looking at various task planners and incorporating only the essentials. Here's a step-by-step guide on how you can make your own.
1. Set Up Your Canvas
Start by opening Affinity Designer and creating a new document. I recommend:
- Size: 8.5 x 11 inches (standard letter size) for single-day use. If you want more space, try 11 x 17 inches for a two-page spread.
- Orientation: Portrait works well for daily notes; Landscape if you prefer a wider layout.
2. Design the Header
In the header section, add essential information that you'll want to fill out daily. Mine includes:
- Sprint Name: Since I work in sprints, I like to note the current sprint.
- Date and Tasks: A line to write down today's date and top priorities.
- Mini-Calendar: I included a small space for hours of the day, where I can schedule quick meetings or reminders.
3. Add Sections for Notes
I keep the main area of my sheet blank and lined, so I can freely jot down any notes or ideas as they come. Feel free to add sections that fit your workflow, like:
- To-Do List: A basic checklist of tasks.
- Website References: A space for jotting down URLs or resources to check later.
- Function Notes: As a QA engineer, I like to note down any functions or features I need to remember.
4. Personal Touches
One of the benefits of creating your own sheet is that you can make it look exactly the way you want! I added a few decorative elements, like inspirational quotes or small icons, to make it feel unique. You can also experiment with fonts and colors to keep things fresh.
5. Print and Use!
Each morning, I print a fresh sheet and fill in my day's details. I also make it a point to leave space for extra notes on the back side, so I never run out of room. The result is a daily note sheet that serves as both a planner and a quick journal for tasks, ideas, or anything that comes up.
5. Store Afterwards
I put the previous day sheet on a stack on my desk - I have a built in paper organizer on my desk. This way it easy to find it. At some point, I plan to put them in a custom circa notebook. This way I can file them and get the information I may need later. For example: What was the password I used for Microsoft One Note account?
Tips for Customizing Your Sheet
- Experiment with Layouts: Don't be afraid to play around with the design! If you find you need more space for notes or want a larger mini-calendar, make those adjustments in Affinity Designer and print a new version.
- Use Templates as Inspiration: I started with some templates for task planners and then customized them to my needs. This saves time and gives you a base to work from.
- Create Multiple Versions: Some days require more structure, and others need more space for free-form notes. I've made several variations of my note sheet for different needs.
Why This Works So Well
This personalized note sheet has become a valuable part of my daily routine. It's versatile, easy to customize, and, best of all, feels uniquely mine. By creating your own, you can stop searching for the perfect notepad or journal and design exactly what you need.
In summary, if you're struggling to find a planner or note sheet that works for you, consider making your own with Affinity Designer. You'll have full control over the layout, and it can be as simple or detailed as you want. So why wait? Open Affinity Designer, and start crafting a note sheet that fits your style and helps you stay organized every day. Happy designing!
Permalinkcssgradient.io
Great way to create your own CSS gradient
If you are a front-end web developer chances are you had to set a background color to an object. You could use a simple solid color or you can be creative and use a multicolor gradient.
cssgradient.io is a great site to create gradients. It???s really easy to use and they make it easy to copy the proper css code.
Website Description
CSS Gradient is a happy little website and free tool that lets you create a gradient background for websites. Besides being a css gradient generator, the site is also chock-full of colorful content about gradients from technical articles to real life gradient examples like Stripe and Instagram.
Permalink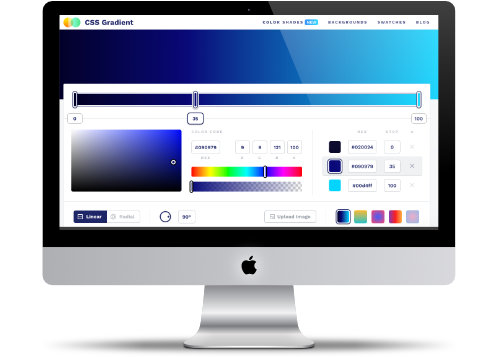
Window Resize
Quickly zoom the active window
Some Macintosh users may know this tip:
Did you know there's an easy way to expand the currently active window?
Let's say you working on an application, and you want to expand the currently active window to use the full screen. You can play around with the edge of the window so that it fits perfectly, or you can use a simple shortcut.
To maximize any window to the full screen, simply double click on the window title bar.
The nice thing about this trick is that it doesn't block the main menus, which would happen if you "Enter Full Screen" option in the View menu. This will block out the title bar and the Dock.
Using the "Double Click on the Window Title Bar" trick is a super-fast way to get your window the full attention of your screen.
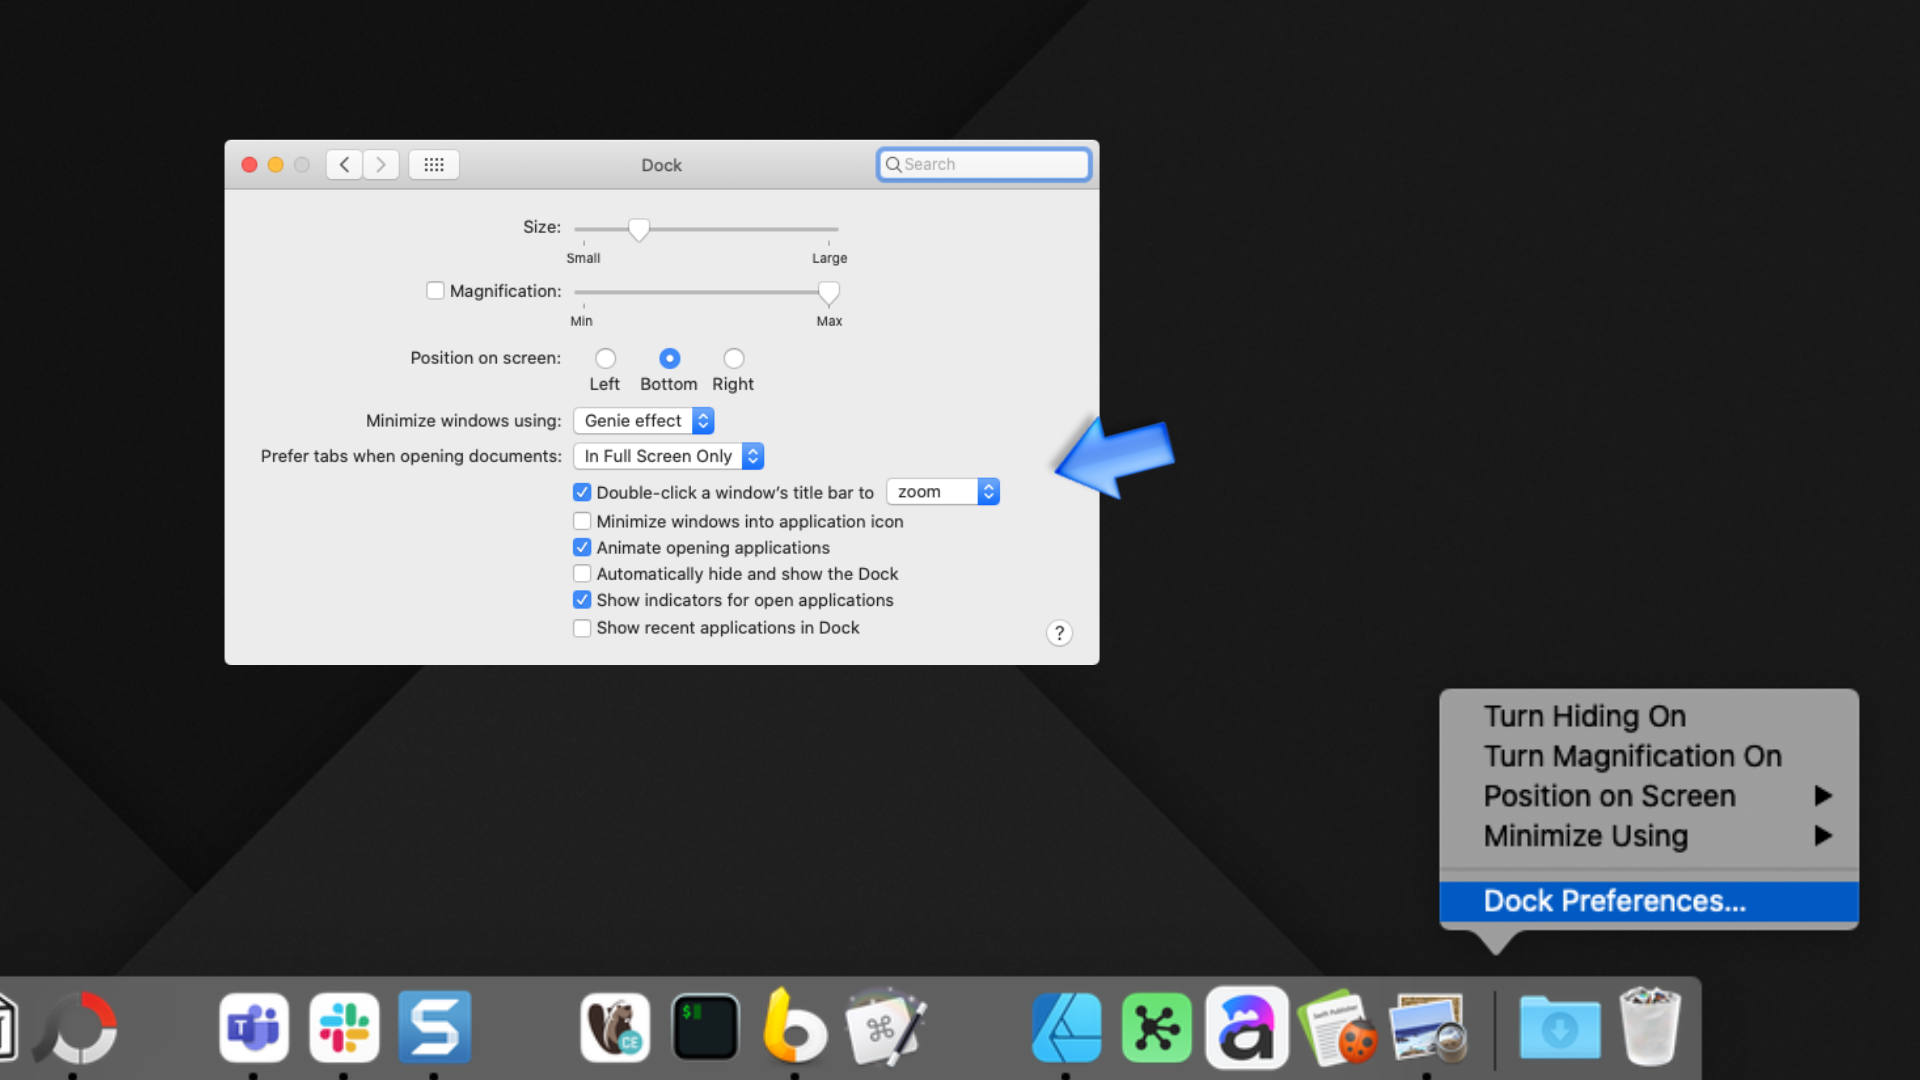
Enable Window Zoom
If double-clicking the window ends up minimizing the window, you need to make a change to your system settings. You change this in the Dock settings:
- Right click on the | in the Dock and select Dock preferences
- In the Dock Preferences window make sure that your option says, "Double-click a window's title bar to" Zoom.
- Test this on any application window.
Gradient with Transparency
Quick and easy way to create a transparent Gradient
Creating a Gradient with one color at one end and end in transparancy is very easy to do in Affinity Designer.
I discovered this when I was trying to create the effect in Apple Motion. It was so much easier to do in Affinity Designer. I imported my final design into Apple Motion as a PNG with a transparent background. it worked great!
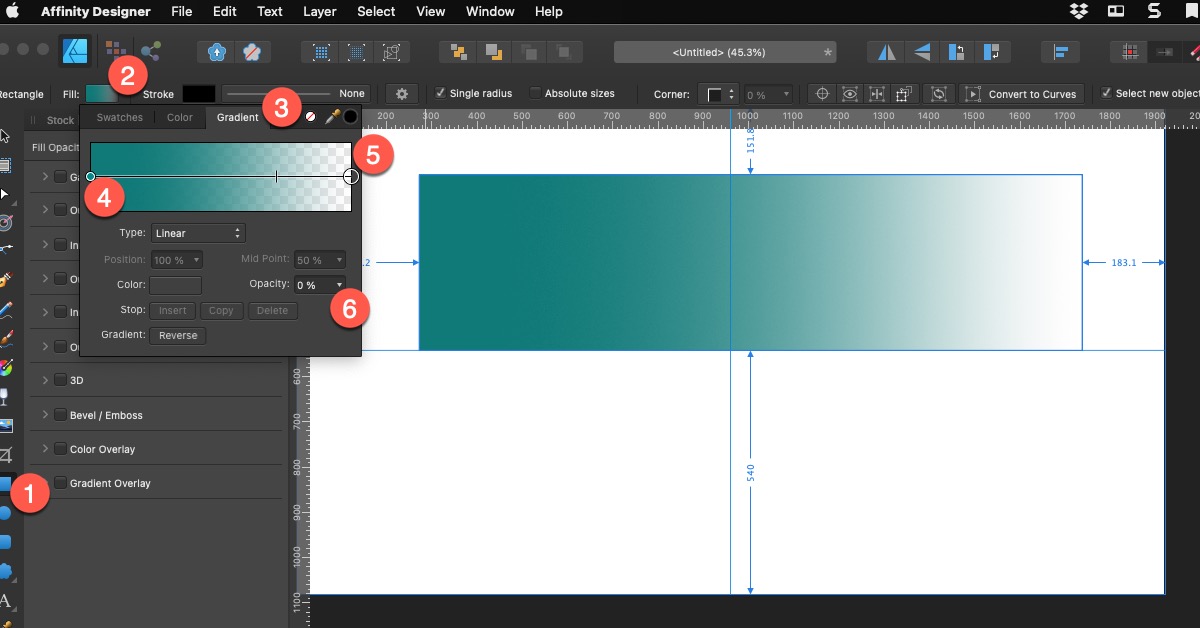
Creating a transparent Gradient
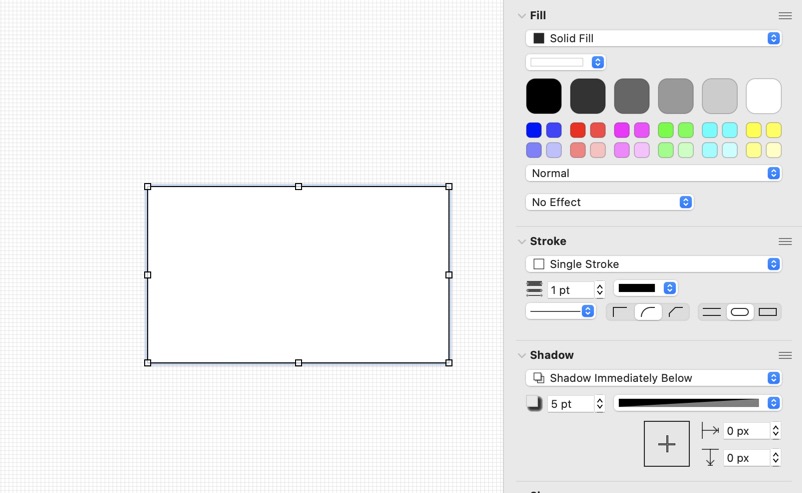
These are the simple steps to transform a simple rectangle to have a single color and fade into transparency.
- Use the rectangle tool and create a shape.
- Click on the Fill in the tool.
- Click on the Gradient Tab.
- Click on one end of the Gradient and select your desired color
- Click on the other end of the Gradient
- Now Click on Opacity and set it to 0%
That's it! Now when you place the transparent end you'll see the underlying color.
Now you can use the Gradient controller to determine the level of gradient that you want.
PermalinkUsing OmniGraffle Shadow in Affinity Designer
OmniGraffle uses gradient for the shadows
One of the things that I like about OmniGraffle is the Shadow effect. OmniGraffle just does a better job of making the shadow look as natural as possible. This is done by using a 50% Obsidian gradient instead of a pure solid color gradient.
Inside OmniGraffle
When I copy and paste the box into Affinity Designer, there are three layers created.
Inside Affinity Designer
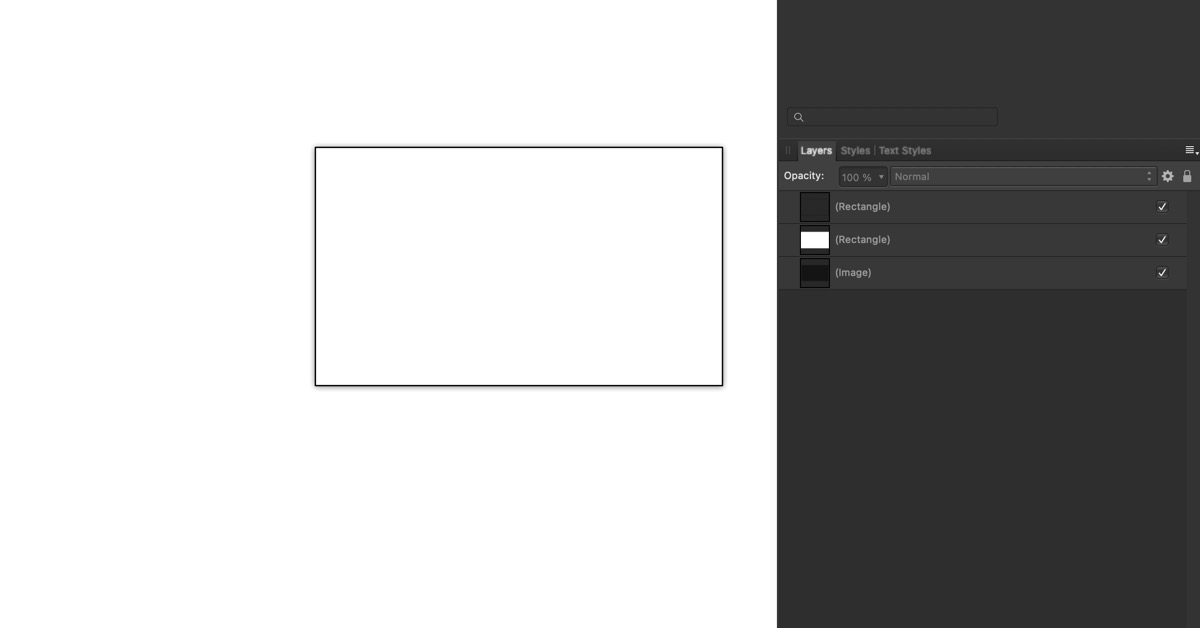
- The stroke of the rectangle as a rectangle object
- The white rectangle as a rectangle object
- The shadow as an Image
I am disappointed that the shadow comes over as an image object. However, chances are that I wouldn't really make changes to the shadow.
You can't use a gradient as a shadow type in Affinity Designer. This is why I use OmniGraffle/
PermalinkAdd Any Emoji into Affinity Designer
Quick tip on why OmniGraffle is good complement to Affinity Designer
As mention in a previous Blog Post, you are not able to use emoji symbols within Affinity Designer. This can be an issue when you want to add a touch up to a graphic, such as this:
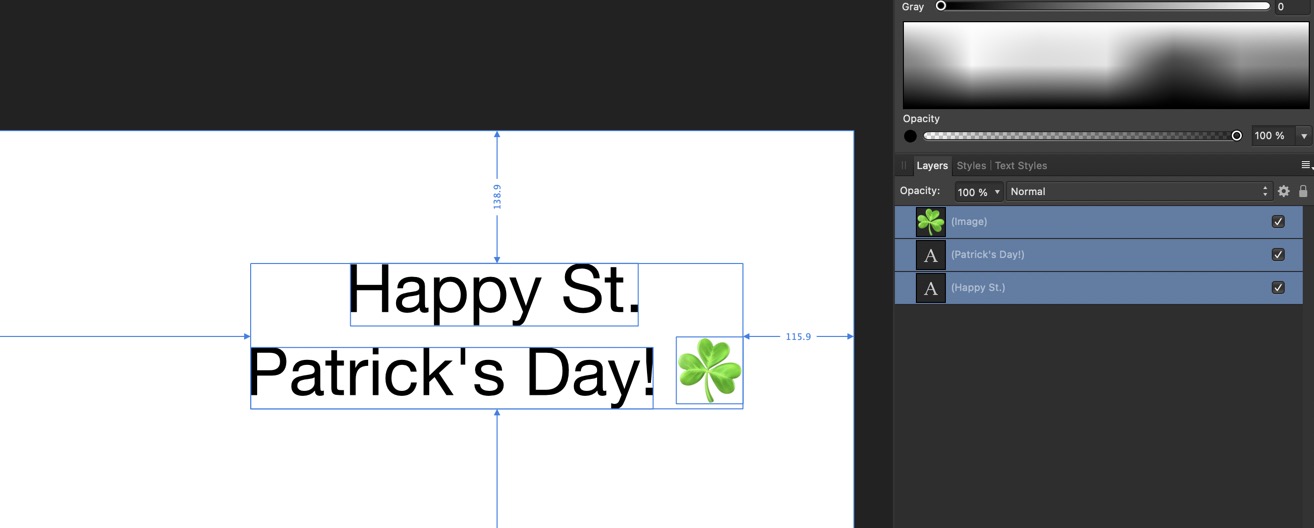
Work Around
The easy workaround is to use OmniGraffle. When you copy an emoji, the emoji is converted to an image. This means that you can convert the emoji to any size as needed.
This is useful if you don't use emojis all the time, and want a quick solution to adding a smiling face or something to an image.
PermalinkOmniGraffle Text Boxes
Use OmniGraffle to create a text with a stroke around it
The text tool in Affinity Designer works very well. You can do all sorts of text modifications.
The one thing that it does lack is the ability to add a box around the text.
Sure, I can just use the shape tool around the text that I wrote. But I find that it's too much "extra work." There has to be an easier way.
That's where OmniGraffle comes in handy.
With OmniGraffle, I create the shape of my object and then double click on it to add the text or I can create the text and then add a stroke around the box.
I can then copy the text/box and paste it in Affinity Designer. When I paste it in, the text is still editable and the box object is shown as a rectangle. I can change the colors styles and text within Affinity Designer.
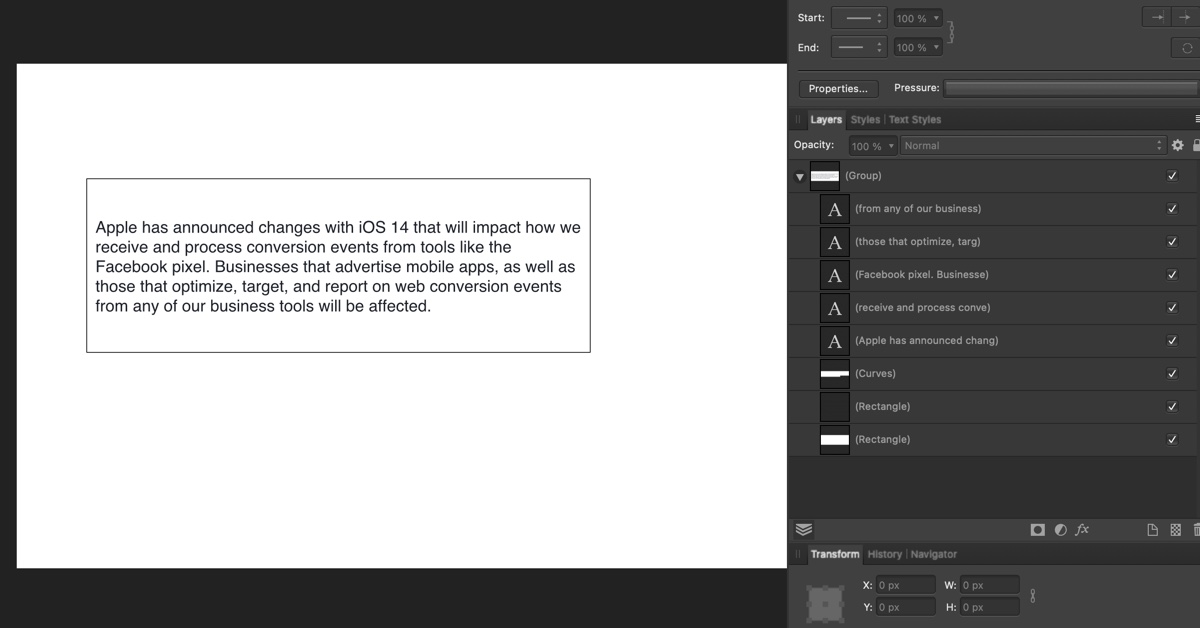
Sample Output of a Paste from OmniGraffle
Why use OmniGraffle?
The main reason that I use OmniGraffle to create "text boxes" is because it's much faster to create. In a few clicks I have my text, and ready to paste into Affinity Designer for further manipulation.
PermalinkTables in Affinity Designer via Omnigraffle
Combine tools to be more creative!
It's great when two separate applications complement each other. This is the case with OmniGraffle and Affinity Designer.
In particular, the ability to create beautiful tables. Affinity Designer doesn't have any ability to create tables. However, it's easy to create tables using OnmiGraffle, and then Copy/Paste into Affinity Designer as individual objects.
Not All Apps Work the Same
I tried copy/paste tables from Apple Pages and Microsoft Word. The tables don't copy in as full objects.
The table cells are broken into different layers making it really hard to do any customizations in Affinity Designer.
OmniGraffle Cost
OmniGraffle isn't free. In order to create tables, you need the Pro Version of OmniGraffle. The Pro version costs $249.99 or $12.24 / month subscription.
Yikes!
Obviously that's a pretty expensive piece of software to use just to create tables. There's a lot of cool things that you can do with OmniGraffle and Affinity Designer.
On Wednesdays, in the month of March, I'll give you some examples of more ways to use the two applications.

Creating Tables
In OmniGraffle, you have to create the base object first, then convert it to a table.
in Omnigraffle:
- Using the Shape tool, create a rectangle that will represent the first cell.
- Type in Shift-Command-T short cut to convert the shape to a table. You'll see some additional black line appear in the shape.
- Using the select tool, select the black lines to add new columns or rows.
- Add text, change color, even make the stroke different.
- Once your done, using the select tool, select the table and type in Command-C to copy the table to the Clipboard.
In Affinity Designer:
- Create a new document and paste the clipboard content.
- Type in Command G to group the pasted content - this makes it easier to manipulate the content of the table in Affinity Designer.
- Now make the changes that you want.
Step Pointers
Simple pointers to help illustrate steps
This week I decided to create some neat Affinity Designer Assets.
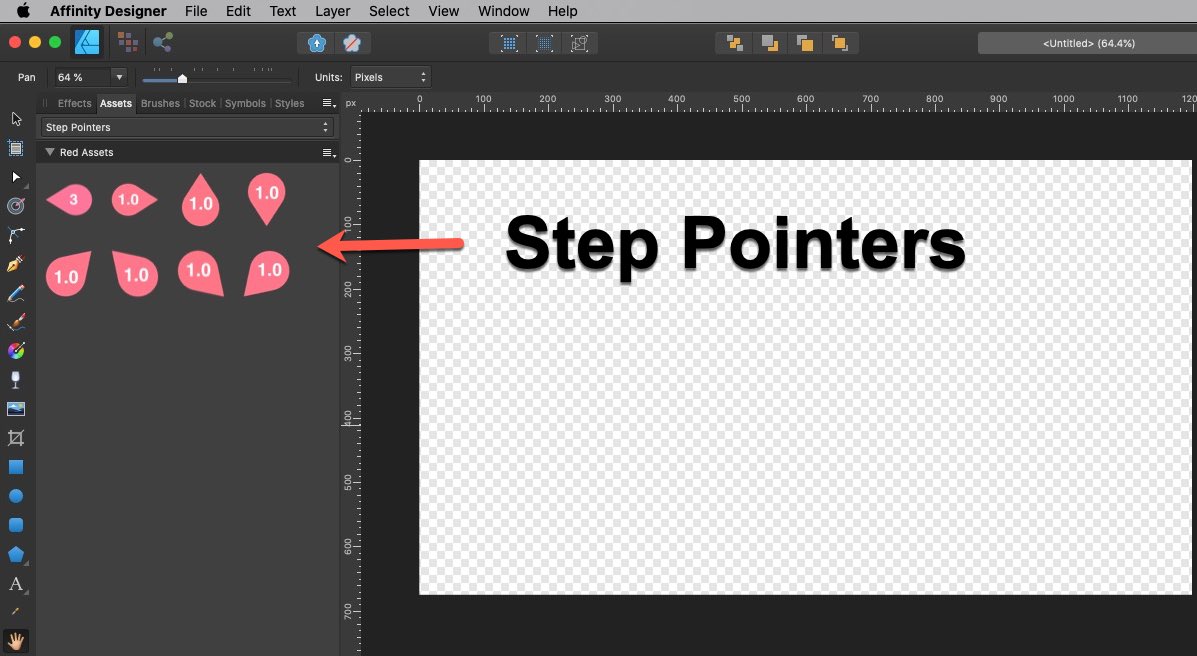
Download the Affinity Asset.
These are step indicators. Which are useful when you want to point out which items should be clicked or acted on first. These are all Curve base designs with changeable text.
Unlike other graphic programs, these don't increment as you apply them. You do have to go into each asset and indicate the correct step number.
You can change the colors and create a new asset subcategory that matches your style.
Installing the Asset
After you download the file, double click on it to uncompress it. Then in Affinity Designer, go under the Assets and click on the three lines. Click on Import Assets.
PermalinkAbout
Welcome to the Affinity Blog, your ultimate resource for mastering the art of digital design and photo editing with Affinity products. Whether you're a professional designer or a creative enthusiast exploring the realms of graphic design, this blog is dedicated to unlocking the full potential of Affinity Photo and Affinity Designer.
Here, we delve deep into the nuances of these powerful tools, sharing insightful tips, time-saving tricks, and innovative techniques to enhance your creativity. From detailed tutorials on how to achieve stunning effects in Affinity Photo, to expert advice on vector graphics and layout design with Affinity Designer, our content is crafted to help you elevate your projects. We also keep you updated with the latest features and updates from the Affinity suite, ensuring you always have the edge in your creative endeavors. Whether you're looking to refine your skills, discover new functionalities, or simply seek inspiration, the Affinity Blog is here to guide you through every brush stroke and pixel. Join us, and transform your digital creations into works of art!
Download the latest Apps on Affinity's website.
Check out all the blog posts.
Blog Schedule
| Thursday 27 | Final Cut Pro |
| Friday 28 | Macintosh |
| Saturday 1 | Internet Tools |
| Sunday 2 | Misc |
| Monday 3 | Media |
| Tuesday 4 | QA |
| Wednesday 5 | Python |
Other Posts
- Using Emoji in Affinity Designer
- Add Any Emoji into Affinity Designer
- Puzzle Template for Affinity Designer
- Folder Icon Maker
- Affinity Designer Calendar Asset
- Memes in Affinity Designer
- OmniGraffle Text Boxes
- Step Pointers
- cssgradient.io
- Change Shortcuts
- Create a Custom Desktop Note Sheet with Affinity Designer 2 for Daily Productivity
- Pat Snyder Font Collection
- Window Resize
- Convert to Curve or Rasterize?
- OmniGraphic Margin Functionality