Tables in Affinity Designer via Omnigraffle
Combine tools to be more creative!
It's great when two separate applications complement each other. This is the case with OmniGraffle and Affinity Designer.
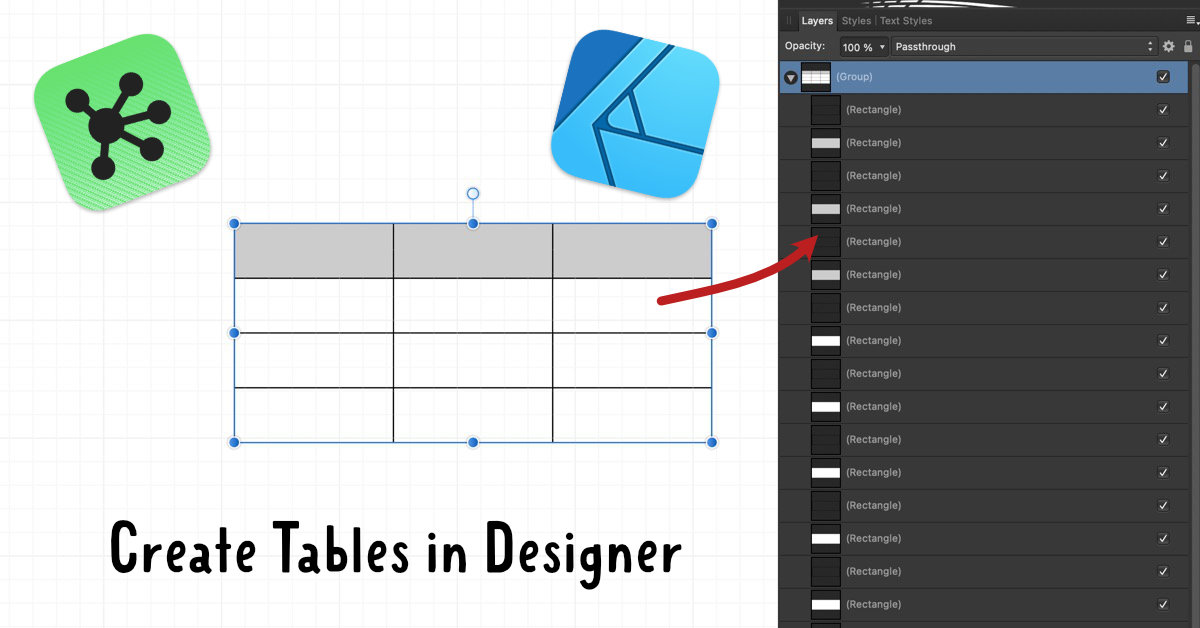
In particular, the ability to create beautiful tables. Affinity Designer doesn't have any ability to create tables. However, it's easy to create tables using OnmiGraffle, and then Copy/Paste into Affinity Designer as individual objects.
Not All Apps Work the Same
I tried copy/paste tables from Apple Pages and Microsoft Word. The tables don't copy in as full objects.
The table cells are broken into different layers making it really hard to do any customizations in Affinity Designer.
OmniGraffle Cost
OmniGraffle isn't free. In order to create tables, you need the Pro Version of OmniGraffle. The Pro version costs $249.99 or $12.24 / month subscription.
Yikes!
Obviously that's a pretty expensive piece of software to use just to create tables. There's a lot of cool things that you can do with OmniGraffle and Affinity Designer.
On Wednesdays, in the month of March, I'll give you some examples of more ways to use the two applications.

Creating Tables
In OmniGraffle, you have to create the base object first, then convert it to a table.
in Omnigraffle:
- Using the Shape tool, create a rectangle that will represent the first cell.
- Type in Shift-Command-T short cut to convert the shape to a table. You'll see some additional black line appear in the shape.
- Using the select tool, select the black lines to add new columns or rows.
- Add text, change color, even make the stroke different.
- Once your done, using the select tool, select the table and type in Command-C to copy the table to the Clipboard.
In Affinity Designer:
- Create a new document and paste the clipboard content.
- Type in Command G to group the pasted content - this makes it easier to manipulate the content of the table in Affinity Designer.
- Now make the changes that you want.
