
Xcode Simulator
Great Tool to Test Mobile Devices
As a seasoned Macintosh enthusiast with a decade of experience, I'm thrilled to share some insights about a powerful tool that every app developer should have in their arsenal: Xcode Simulator. Whether you're building apps for iPhone, iPad, Apple Watch, or Apple TV, the Simulator is your trusty companion for rapid prototyping and testing during the development process.
What Is Xcode Simulator?
Xcode Simulator is an integral part of the Xcode development environment. It allows you to simulate various Apple devices right on your Mac, providing a realistic environment for testing your app without needing physical hardware. Here's why it's a game-changer:
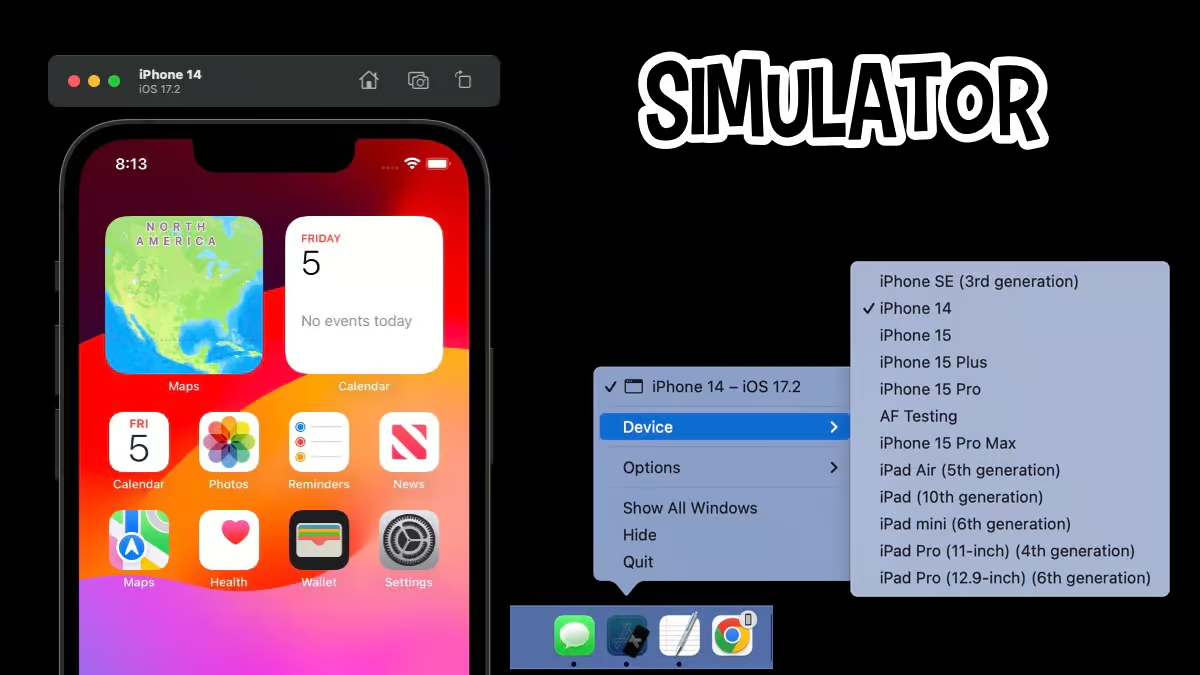
Device Simulation: You can choose from a wide range of simulated devices, including different iPhone models, iPads, Apple Watches, and even Apple TVs. This flexibility ensures that your app looks and behaves correctly across various screen sizes and resolutions.
Speedy Iteration: With Simulator, you can iterate quickly. No need to deploy your app to a physical device every time you make a change. Just hit "Run" in Xcode, and the Simulator launches instantly.
Debugging and Profiling: Simulator provides powerful debugging tools, including breakpoints, console logs, and performance profiling. You can catch issues early and optimize your app's performance.
Tips for Effective Use of Xcode Simulator
1. Testing Different Devices
When testing your app, switch between different simulated devices. Pay attention to layout, font sizes, and touch interactions. Remember that what looks great on an iPhone 12 might not translate well to an older iPhone SE.
2. Simulating Real-World Scenarios
Simulator allows you to simulate various scenarios, such as changing the device orientation, enabling dark mode, or triggering notifications. Test how your app responds to these changes.
3. Performance Monitoring
Use the built-in performance tools to monitor CPU usage, memory consumption, and frame rates. Identify bottlenecks and optimize your code accordingly.
4. Network Testing
Simulator lets you simulate different network conditions (e.g., Wi-Fi, cellular, slow connections). Test how your app handles data fetching, image loading, and API requests.
5. Safari Rendering Issues
Now, let's address your observation about Safari rendering discrepancies. You're absolutely right?Simulator doesn't always perfectly mimic real devices. Here's what you can do:
Double-Check: When you encounter rendering issues, double-check on an actual device. Sometimes, Safari behaves differently due to subtle differences in rendering engines or hardware acceleration.
Color Overlays: Use Simulator's color overlays to identify graphics and animation issues. For example:
- Blended Layers: Views drawn on top of each other with transparency may cause blending issues. These appear in red overlays.
- Copied Images: Core Animation sometimes copies images instead of using the original. These appear in blue overlays.
- Misaligned Images: Images not aligned to destination pixels may be blurry or mispositioned (magenta overlays).
- Off-screen Rendering: Content rendered offscreen appears in yellow overlays.
Slow Down Animations: When debugging animations, slow them down in Simulator. Examine them closely to pinpoint any unexpected behavior.
Remember, Simulator is a fantastic tool, but it's not a perfect replica of real devices. Always validate issues on physical hardware when in doubt.