Manual Exposure Mode
Considered to the be Expert Only Mode
Most Cameras have four common-mode settings: Program Auto, Aperture Priority, Shutter Priority, and Manual Exposure Modes. Otherwise known as PASM.
Over the next few weeks, we'll do a deep dive into each one of these modes. The goal is to better understand when it's best to select that particular mode.
This week we look at the Manual Priority mode, otherwise known as the M on the camera mode dial.
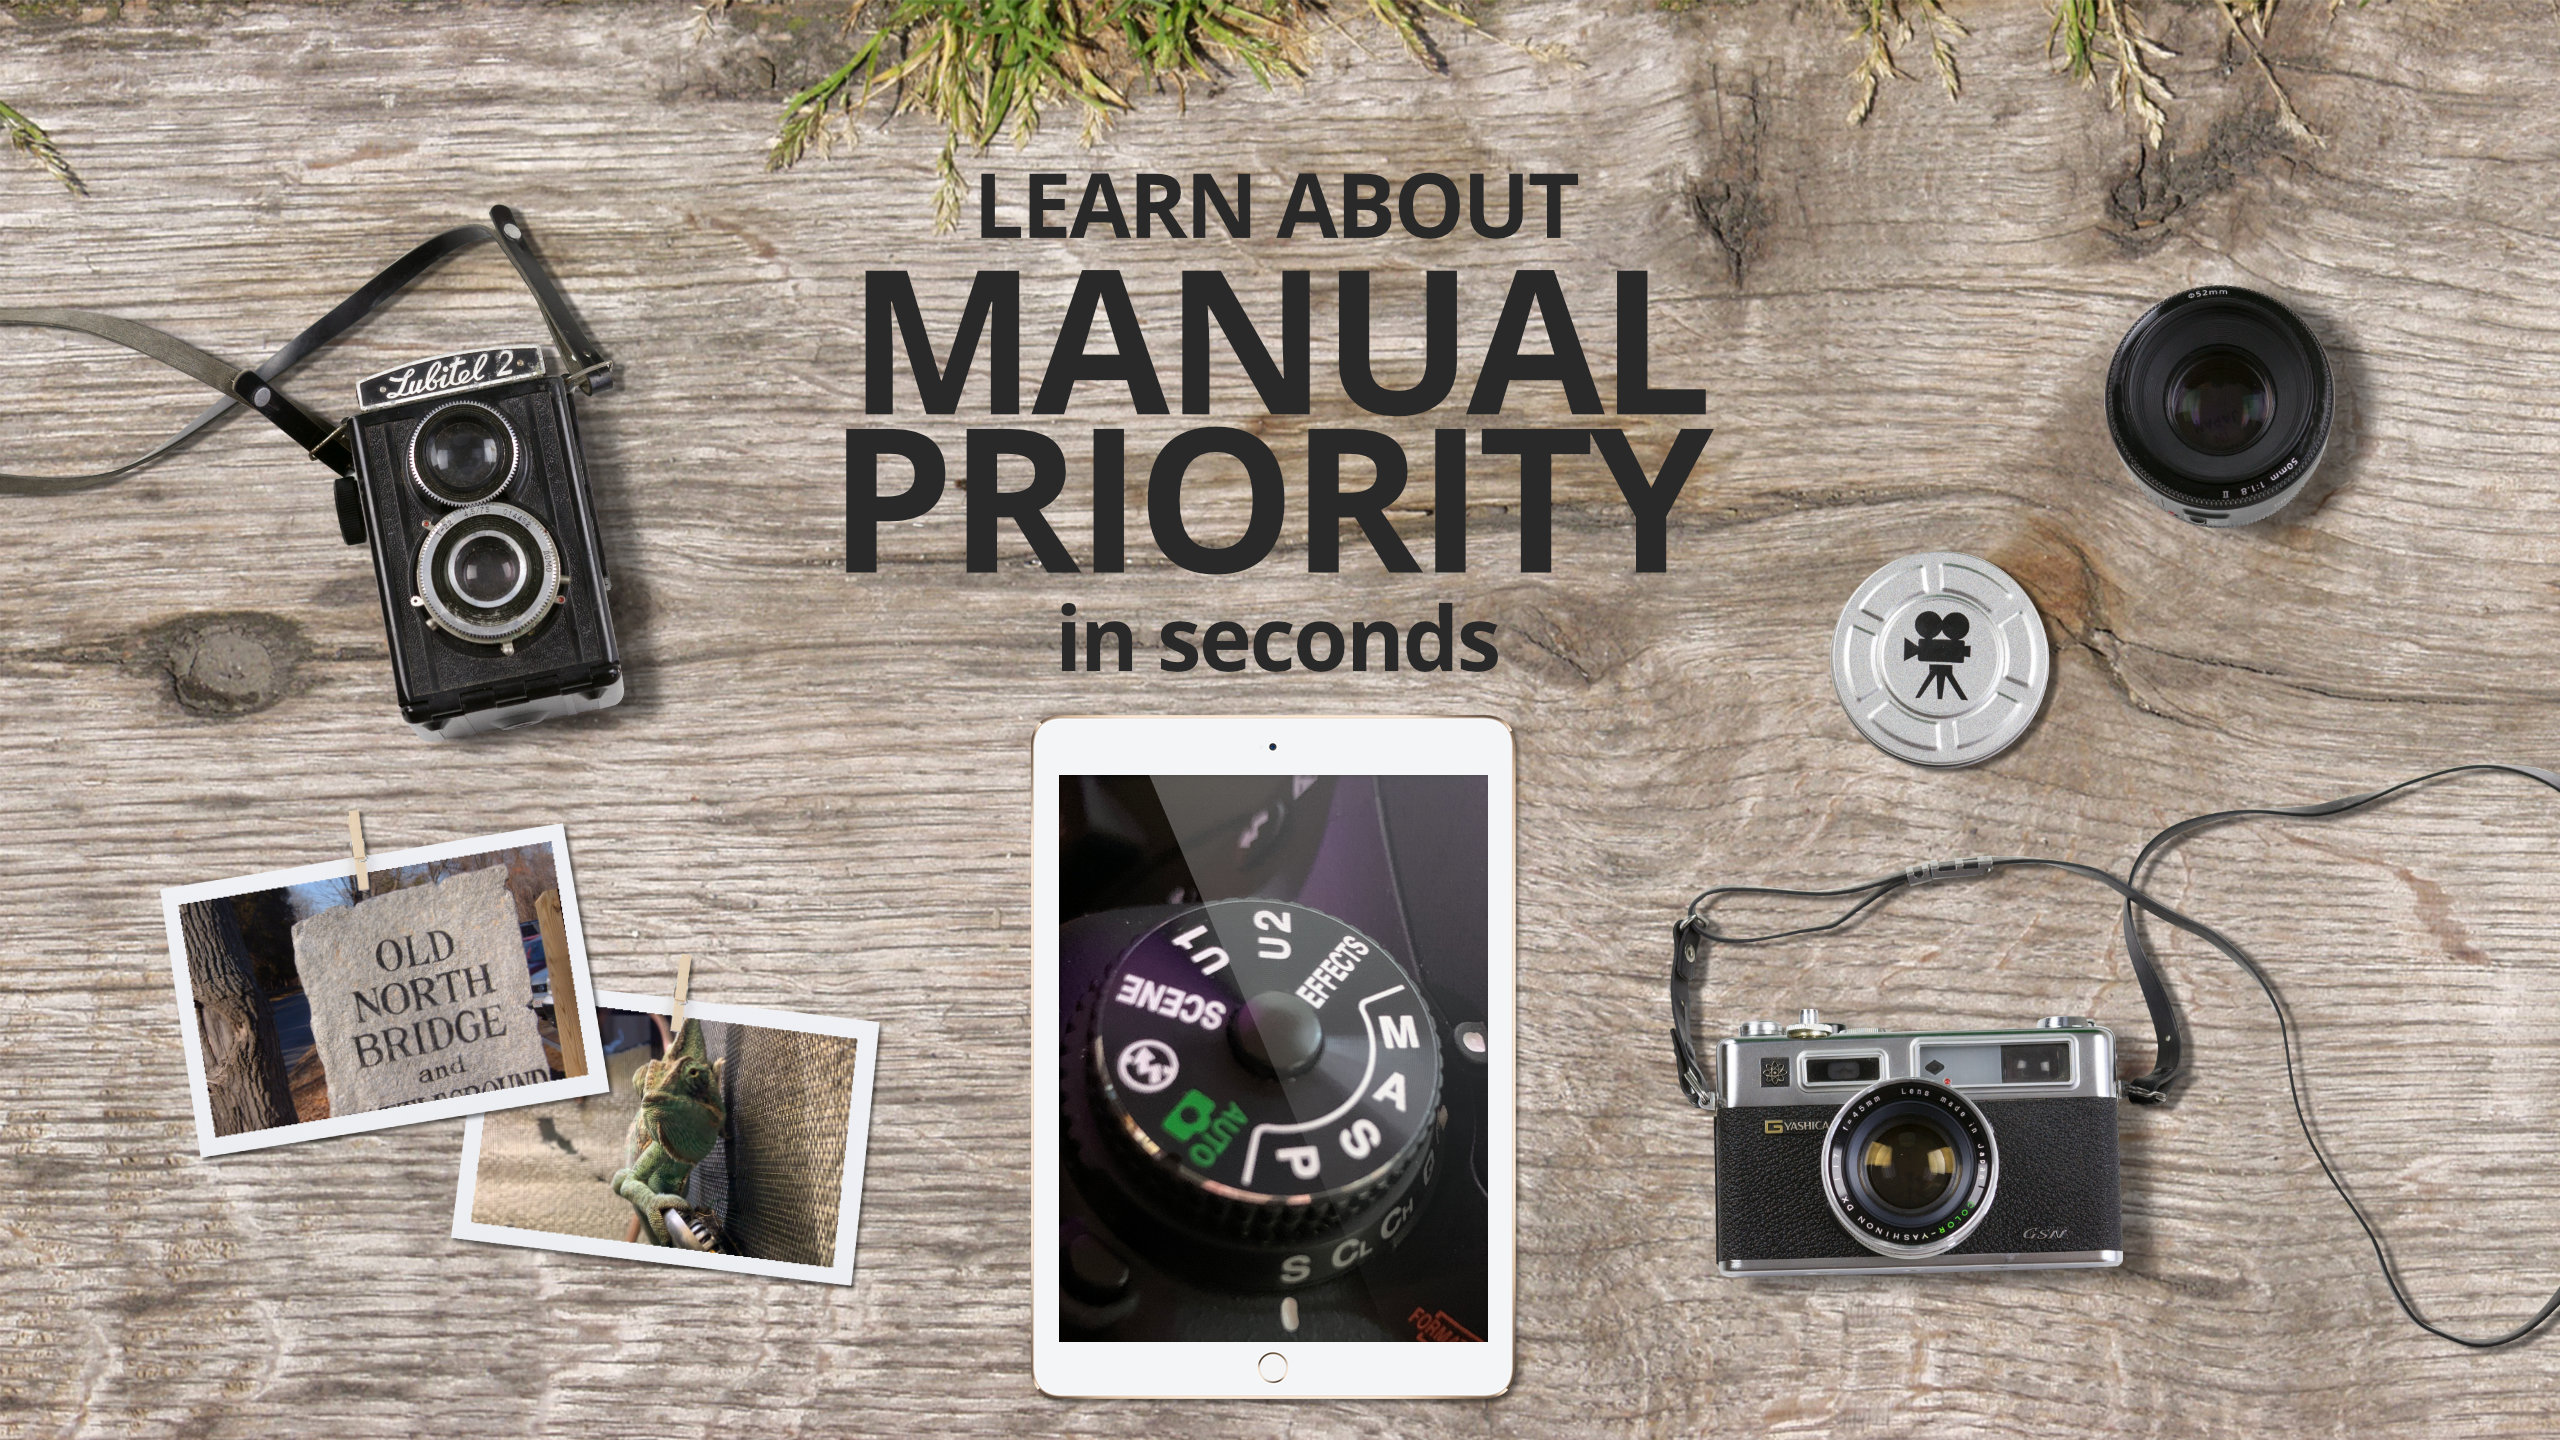
Manual Priority Mode
M is for Manual and M is also for Max Control. So when you want maximum control of your camera, using the 'M' mode is the way to go.
Manual Exposure Mode is when the photographer manually sets the aperture, ISO, and shutter speed all independently of each other in order to adjust exposure. This gives them full creative control over the output of the image.
Advantages of using the Manual Priority Mode
This mode gives you the most power over their camera. It's great when you want total control of the Aperture, Shutter Speed, and Exposure.
When to Use the Manual Priority Mode
Once you mastered using Aperture, ISO, and Shutter Speed, you'll want to switch it to Manual mode to get more control over your shots.
This is a great mode to use when testing cameras at the store. You'll be able to see the limits of the camera without looking at the manual.
This is a great mode to use when taking photos of the fireworks show at Disney World. Make sure to play around with the settings - know what dials do what when you are in Manual mode. (Each Camera is different.)
Use this mode when you're looking for a particular effect that Auto isn't letting you do. For example, if you want a better motion blur of highway car headlights from a highway overpass.