Image Borders in Affinity Photo
Tips on quickly adding a border in Affinity Photo
Here's a quick way to add an image border to any image in Affinity Photo. This is a useful step to remember. Once you do it a couple of times, it becomes second nature.
The Background Layer
First create a new Background Layer, this will be where the image border color will go:
- Type in Command - shift - N (Create a new Layer)
- Type in Command - [ (This will moved that command to the background layer)
Try it:
- Command shift N
- Command [
This is a useful shortcut combo to remember for various tasks.
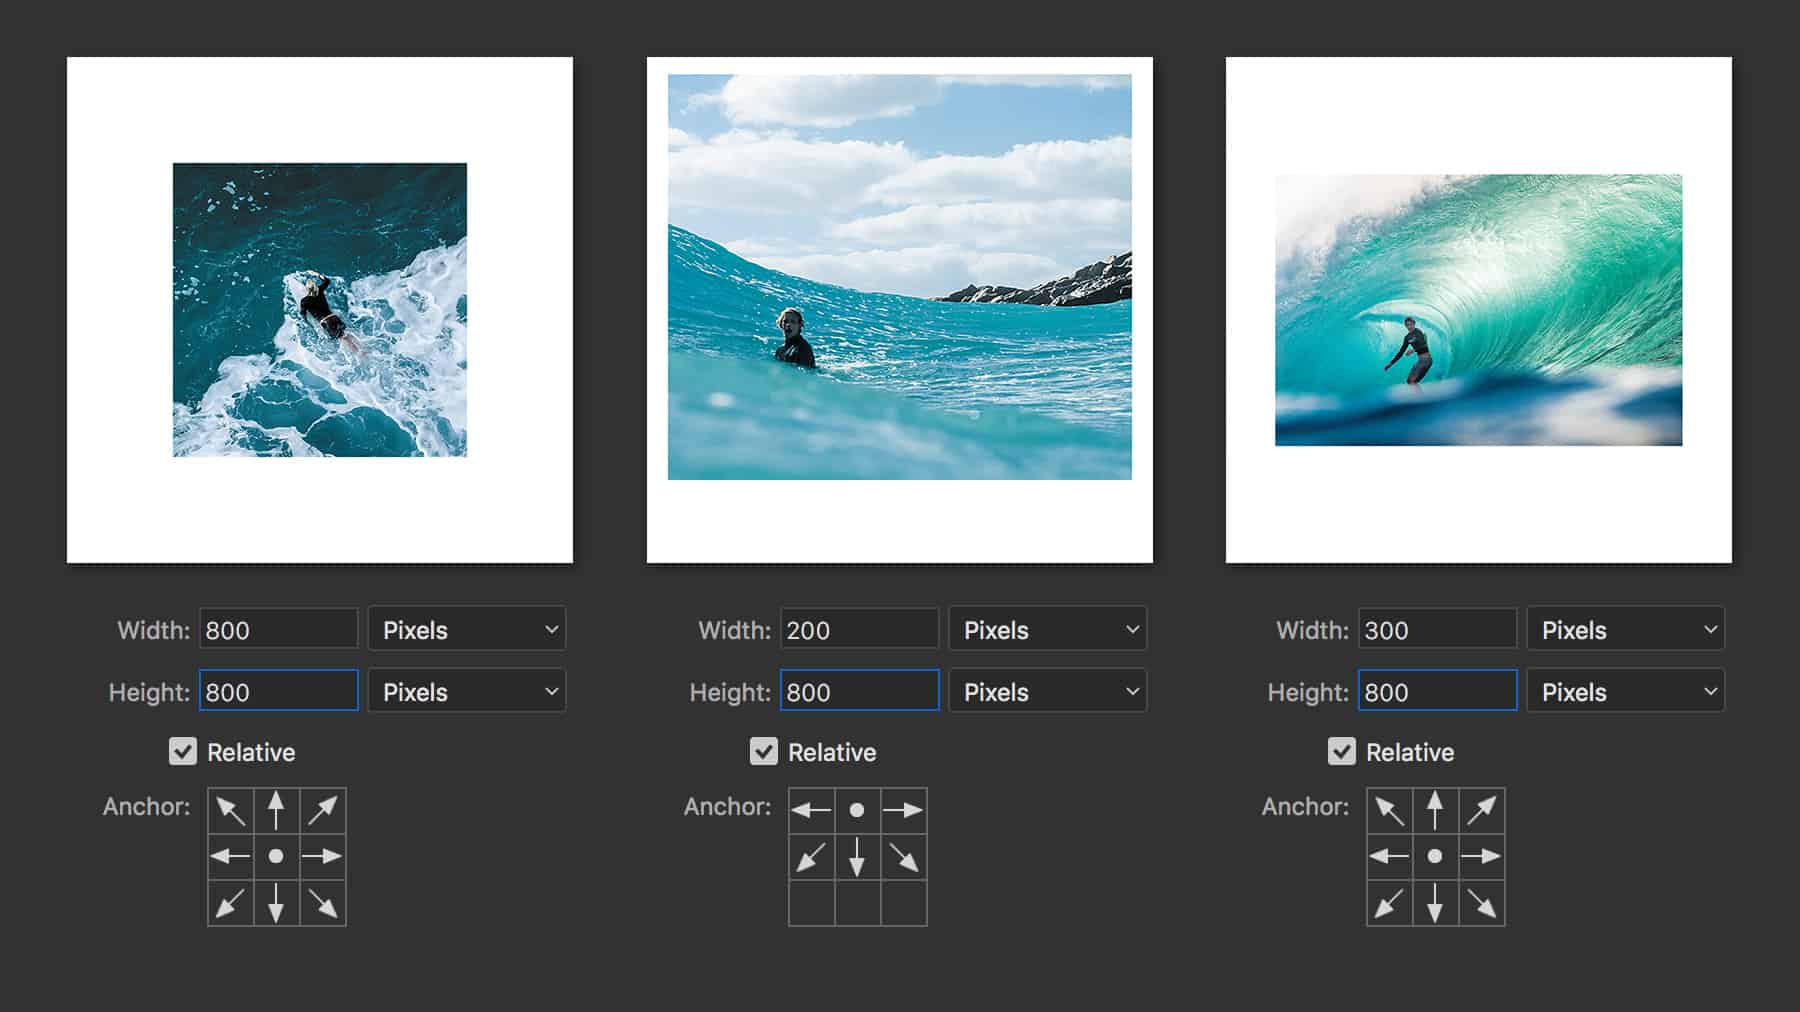
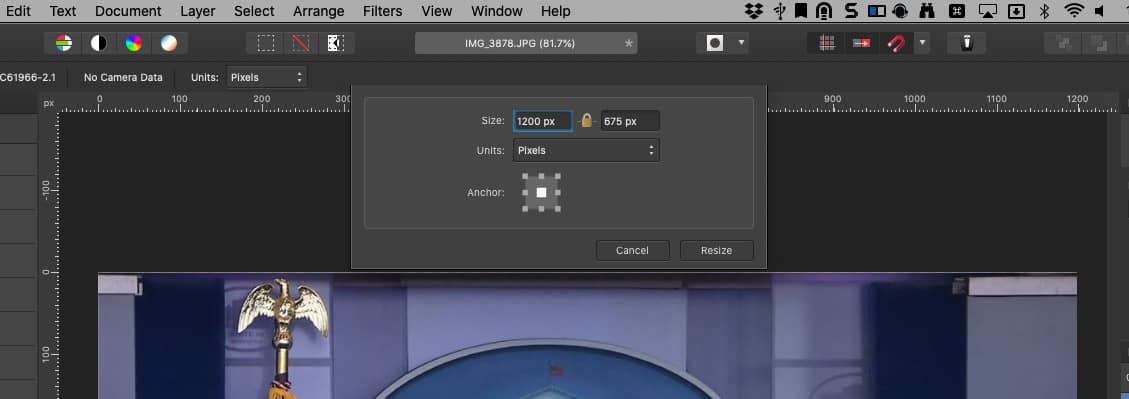
Now Let's resize the Canvas.
- Type in Command - Option - C ( This opens the Canvas Setup Dialog)
- Type in a percent, such as 105% for a 5% border.
- Type the Tab key and Click the space bar if the lock isn't connected. (This makes sure that the percent is the same for the hight.)
- In the Anchor section make sure that the large white box is in the middle. This ensures an equal distribution of the resizing.
Now you have the ability to do anything you want with the main image.
- Use the "Knock on Wood" Styles to add a Wood Background
- Use simple solid color backgrounds
- Use Layer Effects to add an Outer Shadow or Outer Glow for a nice drop shadow effect.
Adobe Tip and Trick
Adobe has a cool graphic on their help site. Many of these can easily be applied in Affinity Photo.