
Fix GoPro FishEye on a Mac
Tips on how to fix FixEye on Mac
Using GoPro as a photo camera is cool because you can get a lot more in the shot. The downside is that you have a FishEye effect. Just about every graphic program has some solution to fix the problem.
Here are the useful solutions that I have found for PhotoScapeX, Affinity Photo and Graphic Converter.
I did a test against a photo taken of Copley Square in Boston. I used my GoPro Silver 7 camera.
PhotoScapeX

Use Lens Profile Correction.
Under the Transformation section is the "Lens Profile Correction."
Select "GoPro" and then HERO5 Black - as that's the latest model available. It works pretty well.
Affinity Photo

Use the Lens Correction Preset.
Use the Develop Persona. On the right, you should see a Lens tab. (If it's not there, enable it by going under the View menu, select Studio and then Lens.) Select the Lens Correction checkbox. Under Lens profile search for GoPro. I like the "GoPro Hero 3+ black & compatibles".
The nice thing is that you can make it a favorite by clicking on the heart. So in the future, you can just go to the Favorites section without having to search for GoPro.
Graphic Converter
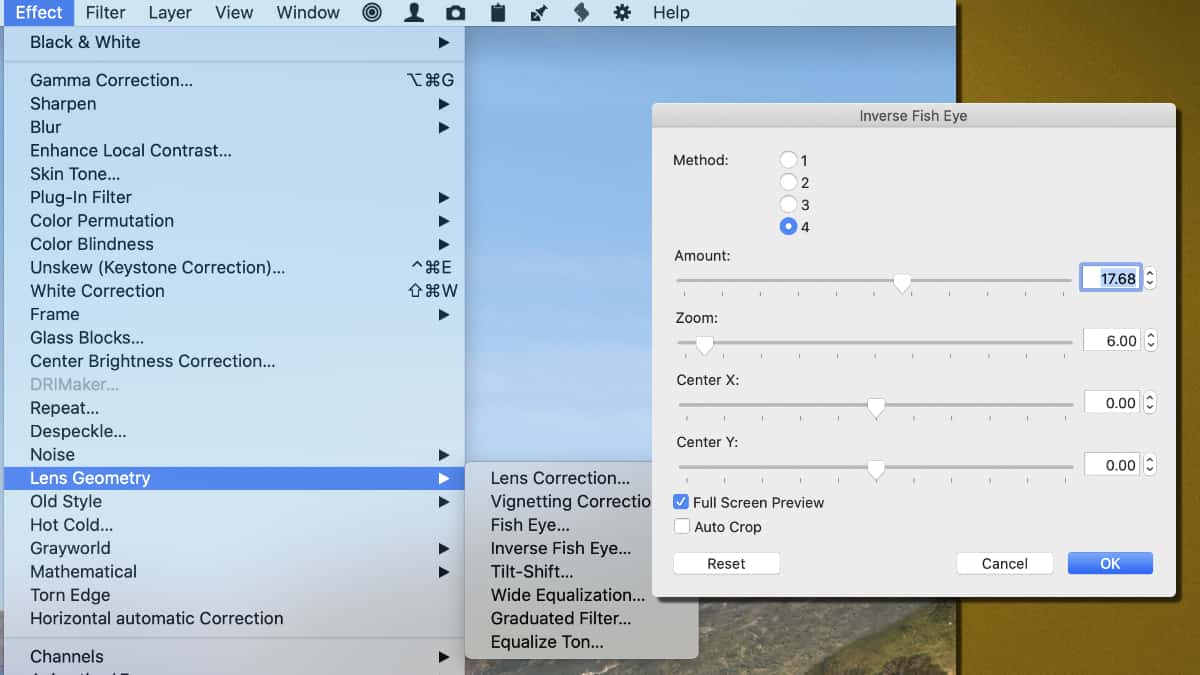
Inverse FishEye Effect
Under the Effect Menu, select "Lens Geometry"", then "Inverse Fish Eye." I found that the "Method 4" produced the best look for my photo.