
Easily Create Custom Stamps in Snagit
Cool New MacOS Feature
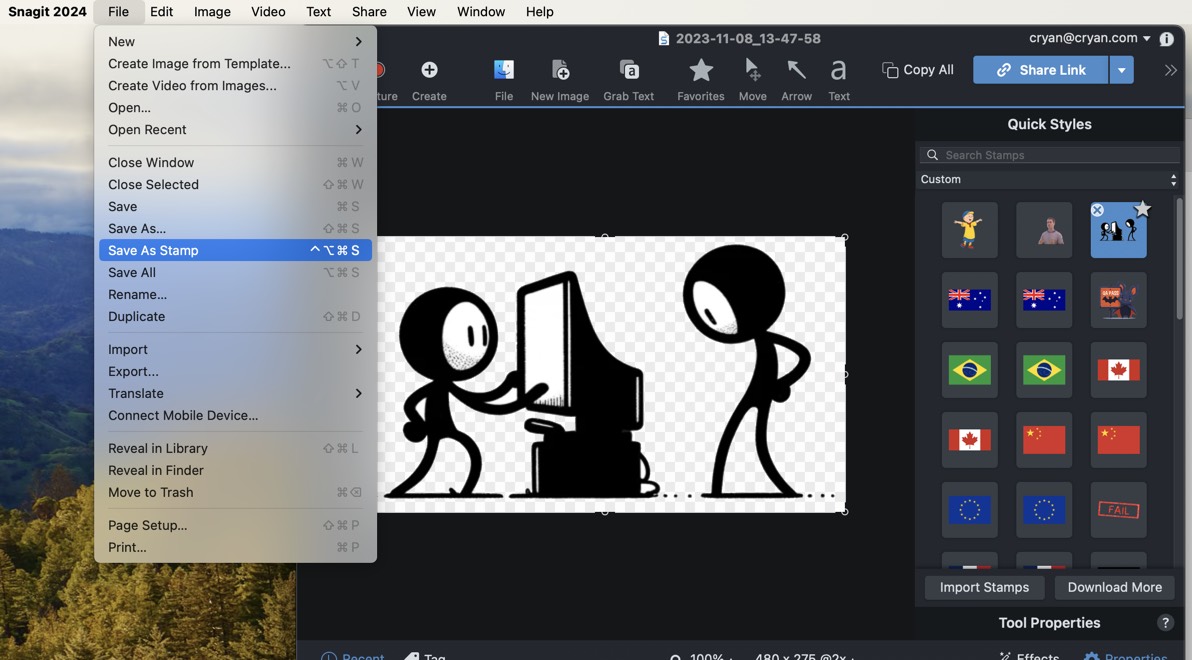
In Snagit Editor, click to select a capture in the recent captures tray. Select File > Save As Stamp. Snagit adds the image to Custom.
Hello, fellow Snagit enthusiasts! As a QA professional with five years of experience using Snagit, I've come to appreciate the versatility and utility of this powerful screen capture tool. Today, I want to focus on a feature that is often overlooked but incredibly useful - the Stamp tool in Snagit for MacOS. This tool can significantly streamline your workflow, especially when it comes to annotating and personalizing your captures. Let's dive in!
What is the Stamp Tool?
The Stamp tool in Snagit is a feature that allows you to use images as stamps, adding them to your screen captures for annotation or emphasis. It's particularly useful for marking up documents, adding consistent branding, or simply personalizing your captures.
Creating Your Own Stamp
Creating your own stamp in Snagit is straightforward. Here's how you do it:
- Select Your Capture: First, open Snagit and select a capture in the recent captures tray in the Snagit Editor.
- Save As Stamp: Navigate to the top menu and choose File > Save As Stamp. This action adds your selected image to the 'Custom' section of the Stamp tool.
Key Considerations
While creating a stamp is simple, there are a couple of key points to keep in mind:
- Whole Image Becomes a Stamp: Remember, when you save an image as a stamp, the entire image is used. This means if you only want a specific part of the image as your stamp, you'll need to crop the image first.
- Cropping for Precision: If you need just a portion of your capture as a stamp, use Snagit's cropping tool to select and isolate the desired area before saving it as a stamp.
- Using the Clipboard: Alternatively, you can select and copy the part of the image you want (using the selection tool), then use the 'New from Clipboard' option to create a new image from your selection and save that as a stamp.
Creative Uses of Stamps
The Stamp tool is not just for branding or simple annotations. Here are some creative ways to use it:
- Feedback and QA: Mark specific areas in UI screenshots with custom stamps like 'Approved', 'Needs Change', etc.
- Branding: Add your company logo or specific icons to images for consistent branding.
- Instructional Design: Create a set of instructional icons and use them in tutorials or guides.
- JS Library Logos: Show which library is being used in the screen shot.
Conclusion
The Stamp tool in Snagit for MacOS is a powerful feature that offers significant flexibility for customizing and annotating your screen captures. Whether you're a professional in QA, design, or education, or just someone who loves to organize and personalize your work, mastering this tool can add efficiency and creativity to your workflow. Happy Stamping!