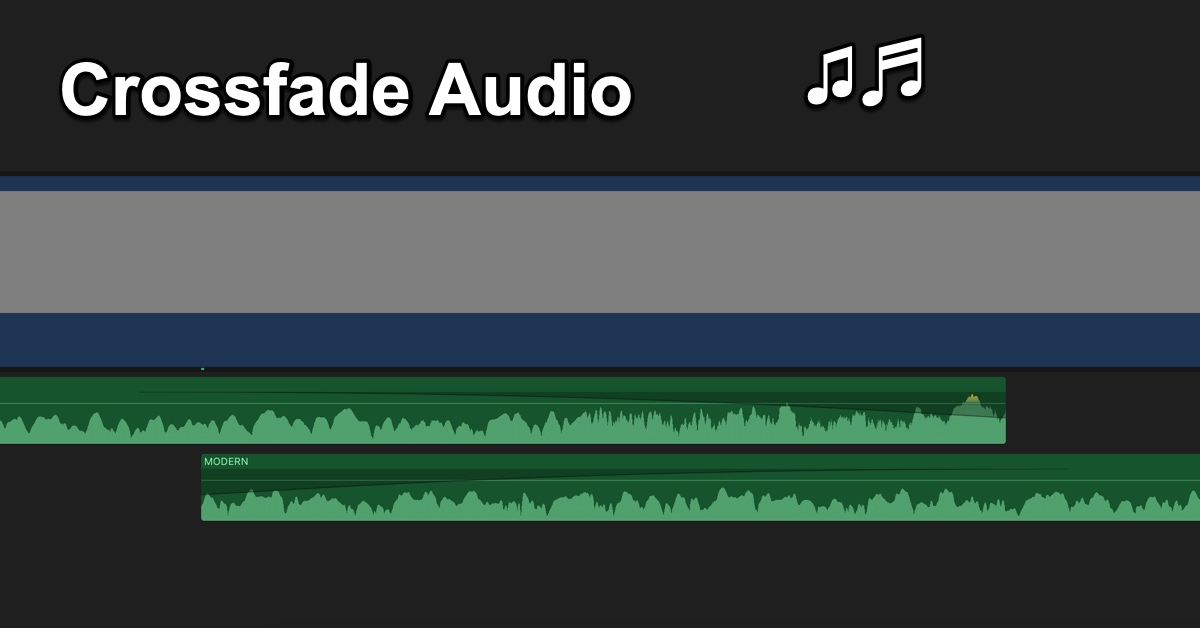
Crossfade Audio
Make Audio transitions Easy
In Final Cut Pro 10.4.9, Apple introduced a long-awaited feature - the ability to add audio crossfade. This makes it so much easier to create a smooth transition between audio clips.
Final Cut Pro Crossfade works very similar to how video dissolves work.

Adding A CrossFade
There are three ways to add crossfades:
- Using the Modify Menu. Select the audio clips and then go to Modify > Adjust Audio Fades > Crossfade.
- Use the Keyboard Shortcut: Option T
- Apply a transition to a clip. Whatever transition you add, the audio automatically gets a crossfade.
Adding a Crossfade
To add a crossfade you need to select two or more adjacent audio clips or video clips that contain audio. (Note: the clips can't be overlapping.)
Use the Keyboard shortcut: Option T
My Thoughts
I saw some YouTube videos hyping this feature as something they have been asking for since version 10 came out. I wasn't all that impressed with how crossfade feature works. I think that crossfade should work regardless of where the two audios are in the timeline.
If you have two audio clips, You should be able to fade into the next clip very easily:
For Example: Like how a DJ will start playing the next song before the current playing song ends.
You would think that's how crossfade works, but it doesn't it just fades one clip until it ends and the second clip fades in. You do have some "dead air" time.
