
OmniGraphic Margin Functionality
When you export a graphic in OmniGraphic, you can optionally add a margin to the image. This adds a small transparent margin around the image. This is useful if you include the graphic in an email and would like a small margin so the text doesn't cram up to the image.
Web Developers can always add a style class so that image floats on the page, but you don't always have that control in some applications.
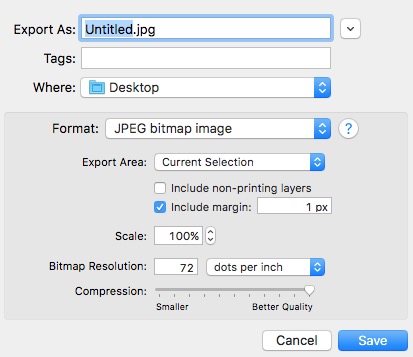
OmniGraffle Export Dialog box
What about Affinity?
In Affinity Designer and Affinity Photo there is no option in the Export Persona or File->Export mode.
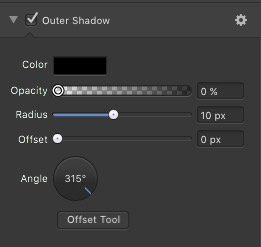
You can easily achieve this functionality in Affinity Designer and Affinity Photo. You simply create a style to add a transparent border around your object.
Create a Outer Shadow Effect:
|
|
You won't see anything when you apply this to an object, but when you switch to the Export Persona, you will see an extra border around the image. This is to show you that the extra space that you added.
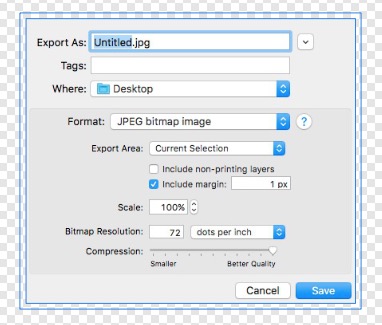
In Export Persona mode there is an indicator that there's more to the image than meets the eye.
Designer Tip
Created a couple of Styles with different radius to make it easier when you want different size margins around your image.